Before you start, have these ready
1 Log Into Meta Business Suite
Go to business.facebook.com in your browser. Log in using your Facebook email and password. If you don't have a Facebook account yet, create one first.
2 Create Your Meta Business Portfolio
Once logged in, you'll see an option to Create a Business Portfolio. Click it and enter your business name. This is the name Meta will use internally — you can change it later if needed.
You'll also need to enter your first name, last name, and business email. This email is used internally by Meta — it won't be visible to customers.

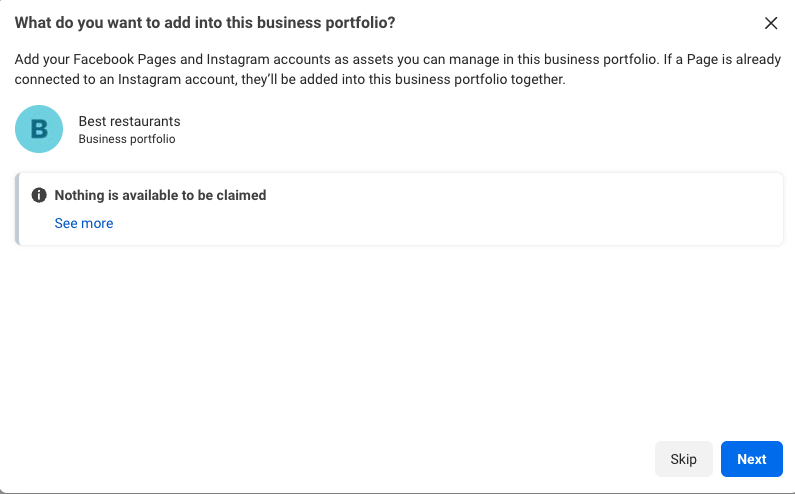
After clicking Create, Meta may ask you to add Facebook Pages or Instagram accounts to your portfolio. You can Skip this for now — it's not required for WhatsApp setup.
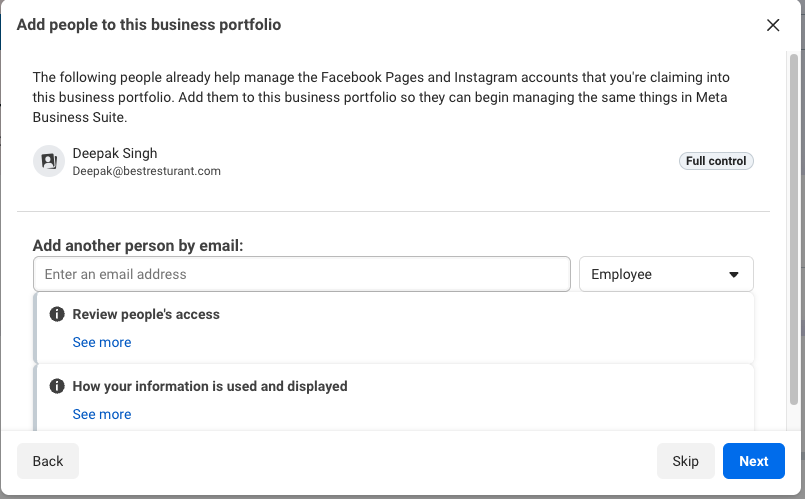
Next, you can add other people to your portfolio (optional). The person who created the portfolio automatically gets Full control. Click Next to continue.
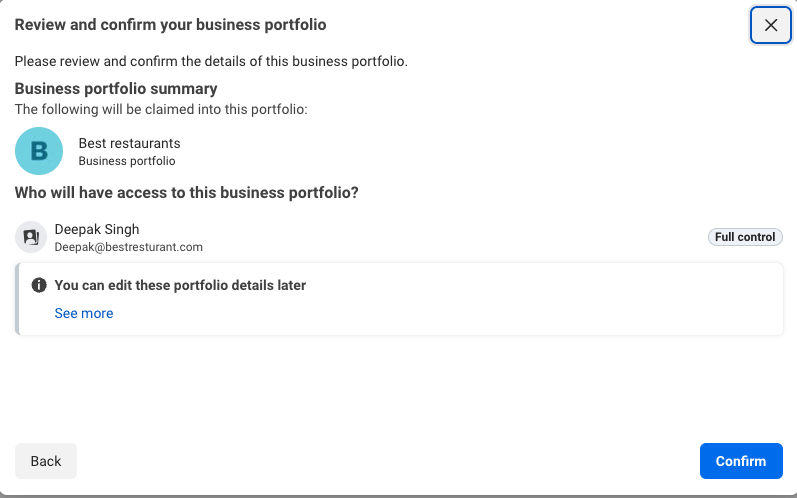
Finally, review your portfolio details and click Confirm.
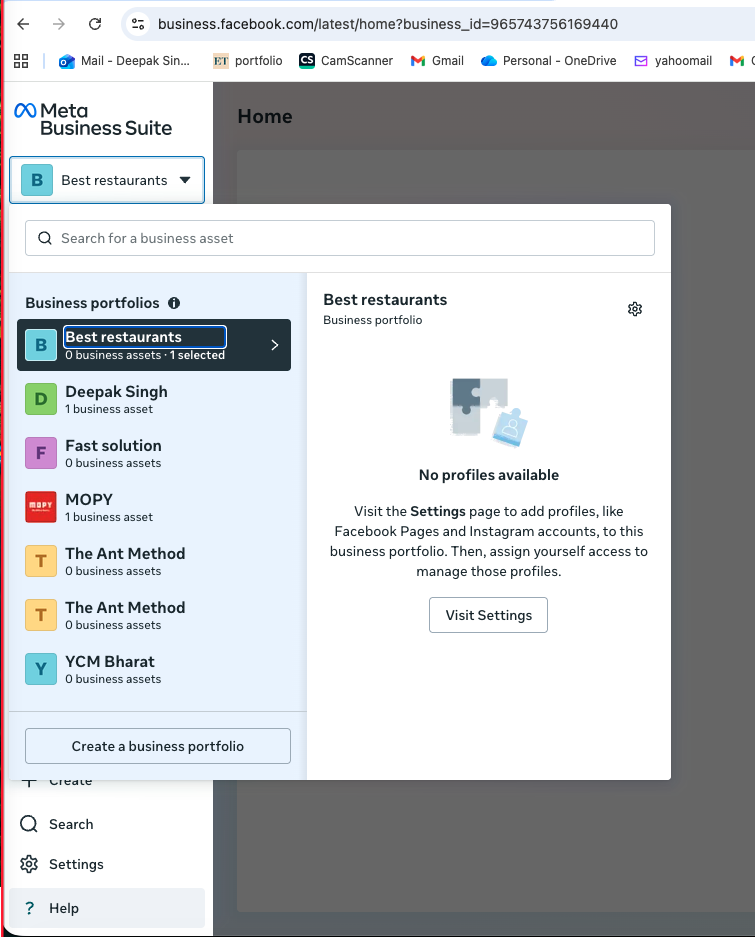
You'll be taken to the Meta Business Suite home page, where you can see your new portfolio in the sidebar.
3 Complete Your Business Profile
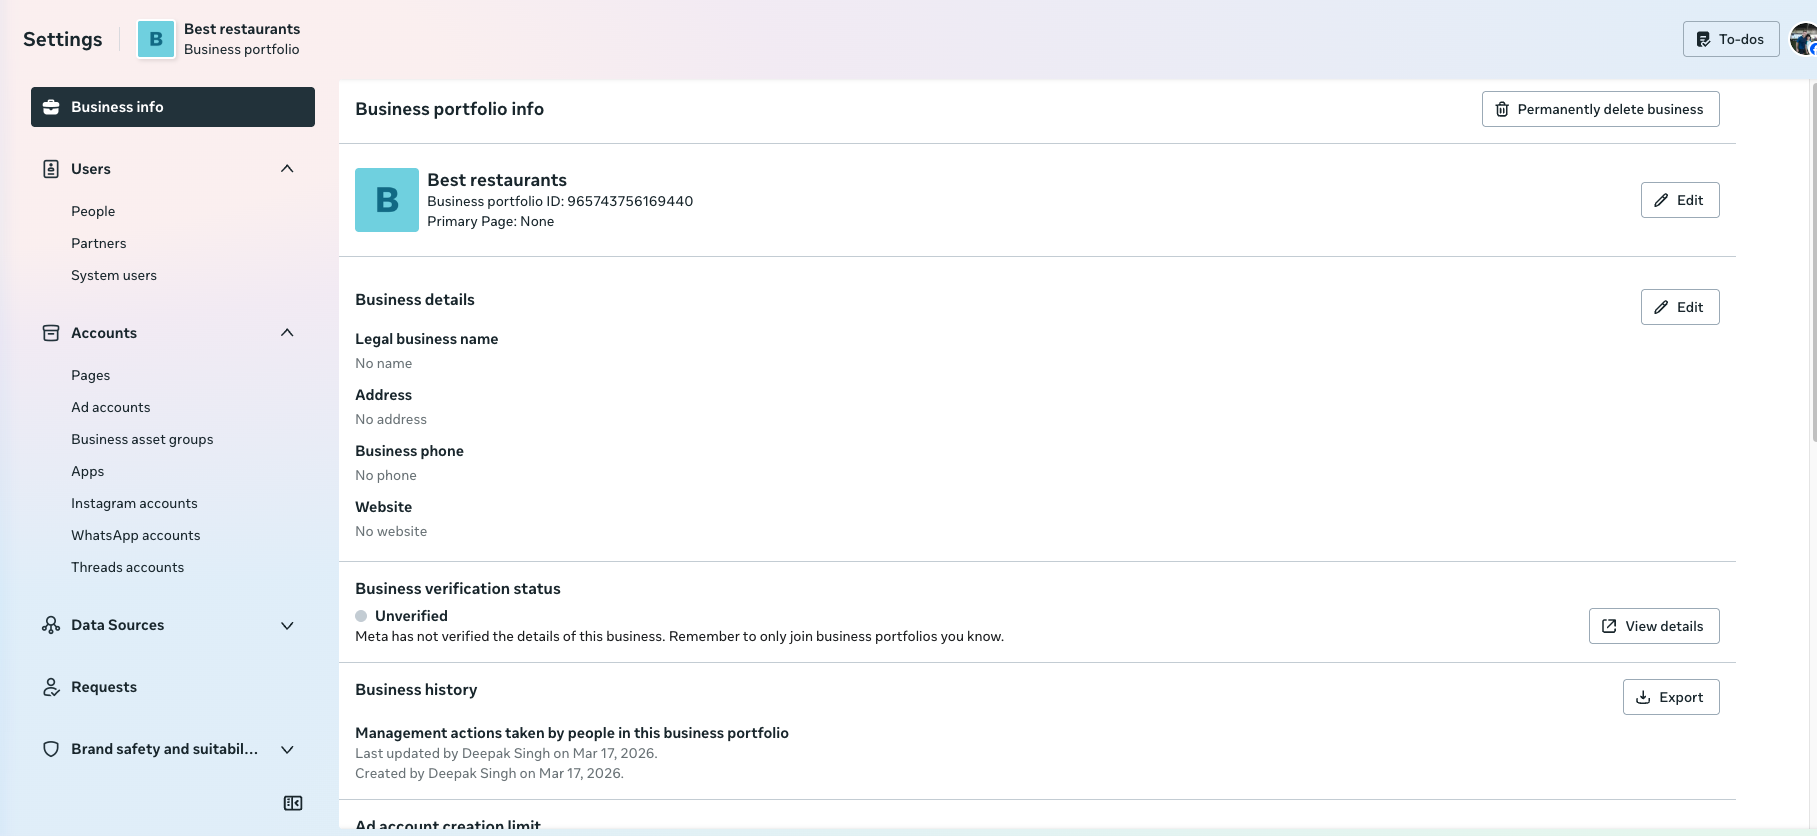
Fill in your business details. You'll need your legal business name (as it appears on your MCA registration), your registered address (must match your GST certificate), a phone number, and your business vertical from the dropdown.
Go to Settings > Business info to find these fields. Click Edit next to Business details to fill them in.
4 Upload Verification Documents
Upload your GST Certificate and Certificate of Incorporation. Accepted formats are PDF, JPG, JPEG, and PNG. Make sure the documents are clear and legible.
You'll be asked to upload documents during the verification process (Step 6). Have your GST certificate and incorporation certificate ready as PDF, JPG, or PNG files.
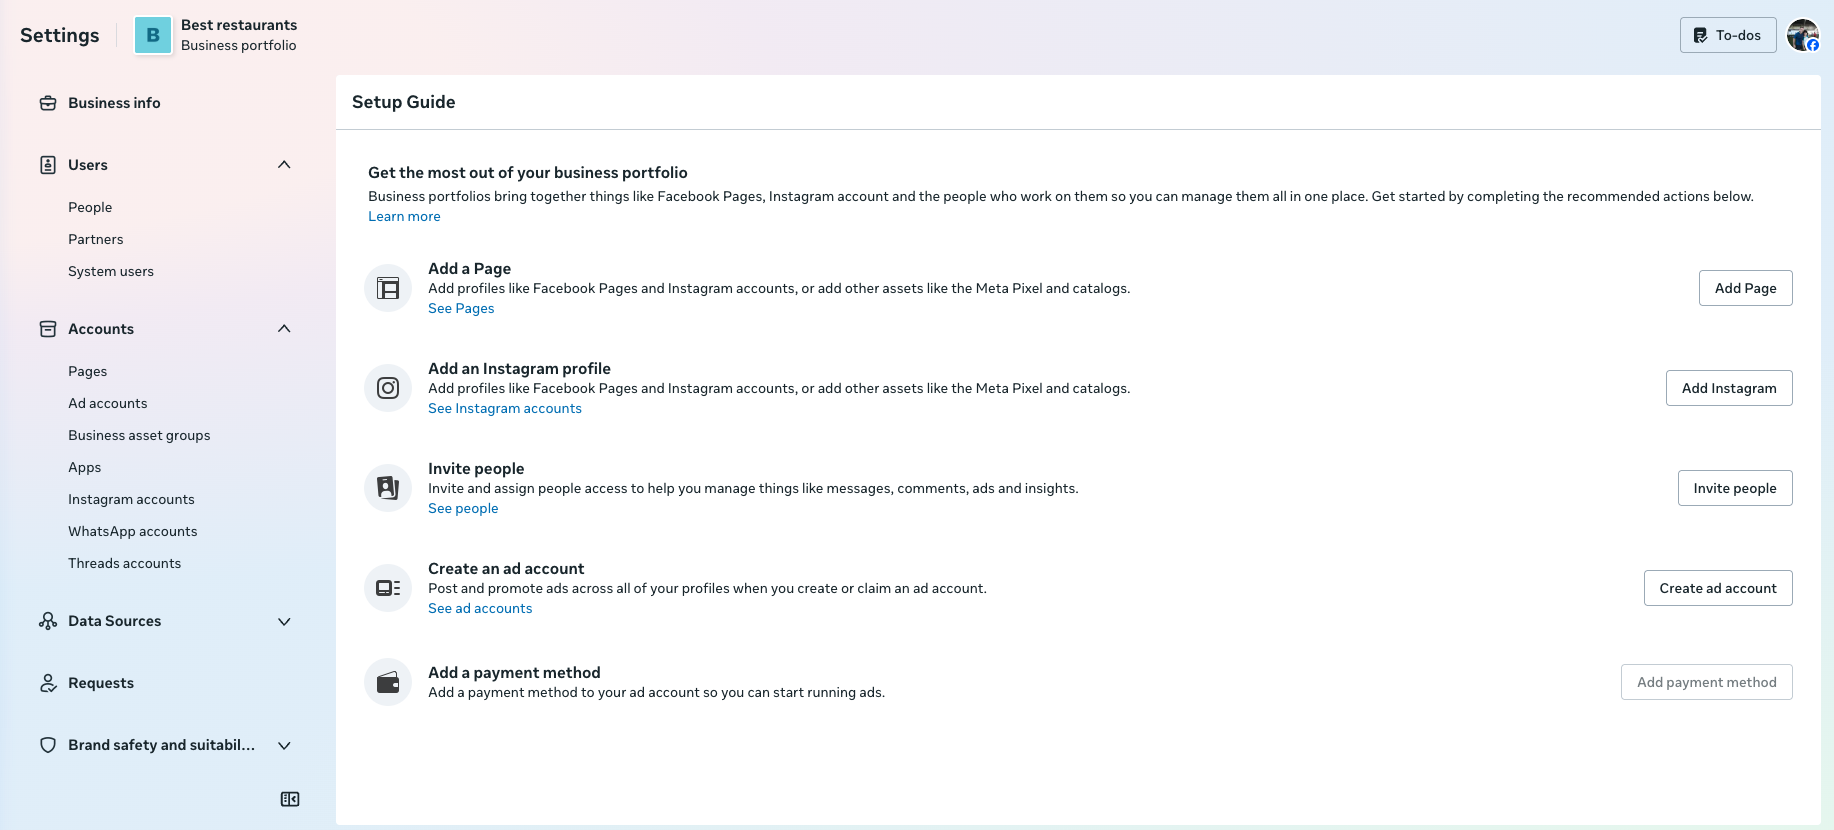
5 Add Payment Method
Go to Settings > Accounts > Add Payment Method. Enter your debit or credit card details: cardholder name, card number, expiry date, and CVV. This is required even if you're on a free plan.
You'll find the payment option in the Settings > Setup Guide page, or go directly to Settings > Accounts > Ad accounts and look for the payment method section.
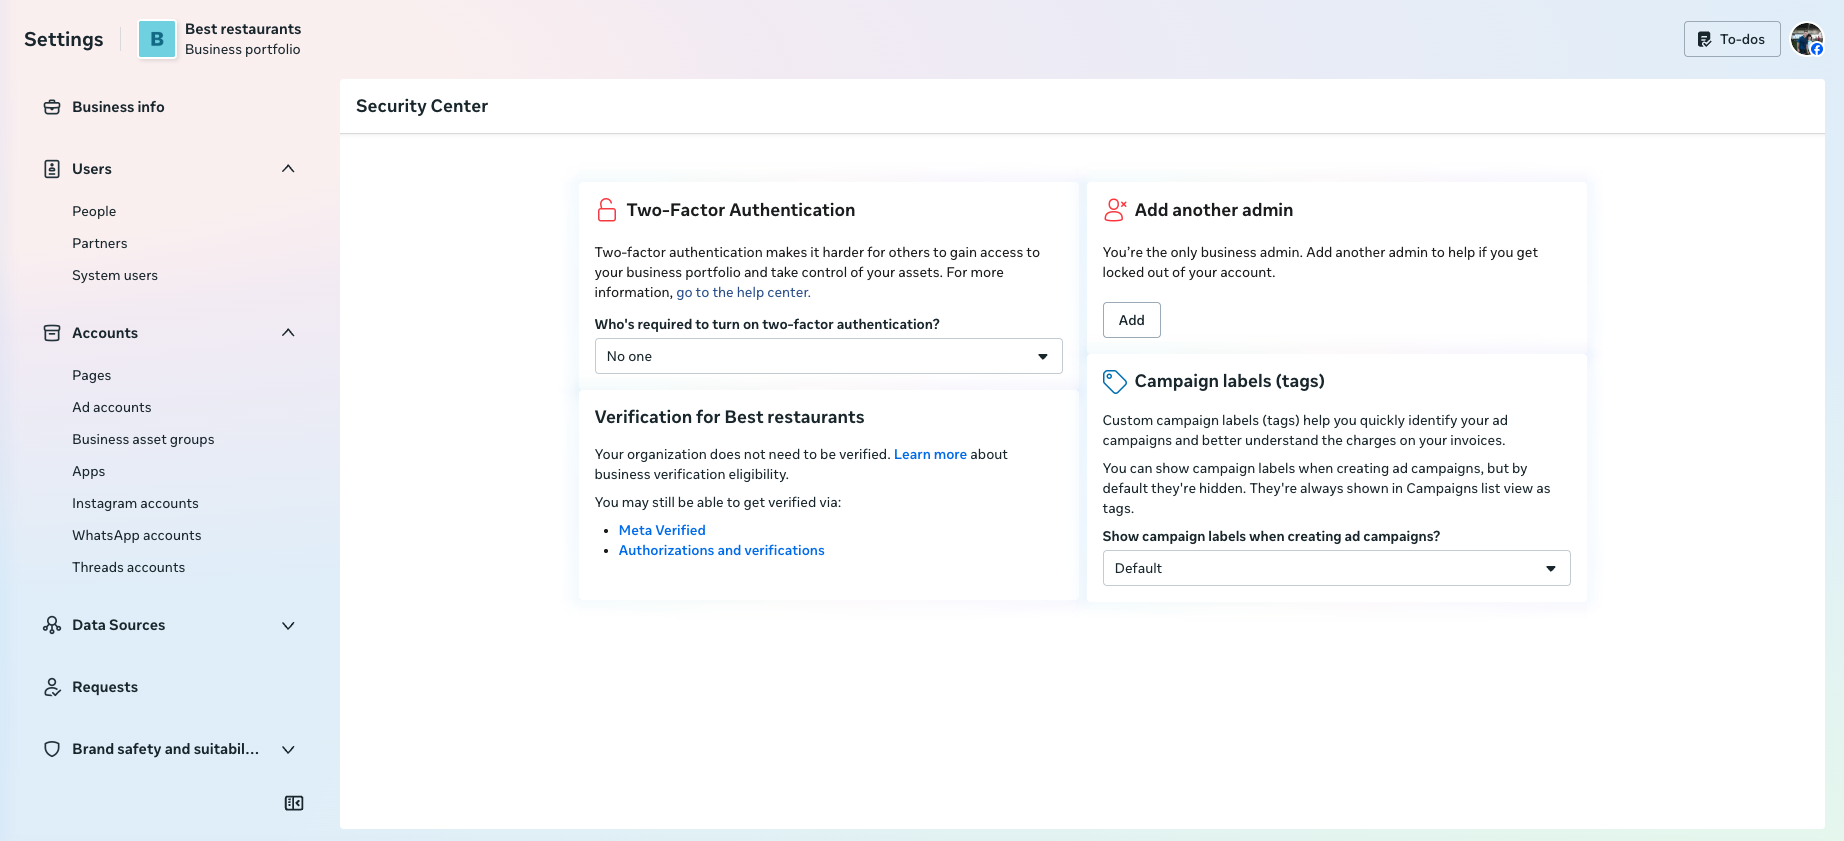
6 Start Business Verification
Go to Settings > Security Centre > Start Verification. Select India as your country. Meta may find your business automatically from government records — select your organization from the list if it appears, or upload your documents manually.
You'll need to verify via OTP. Choose your preferred method: email, phone call, SMS, or WhatsApp. Enter the code to complete this step.
7 Wait for Approval
Meta typically reviews and approves your business within 48 hours. You'll receive a notification once it's done.
If your verification is rejected, the most common reasons are:
- — Business name doesn't match government documents
- — Address doesn't match GST certificate
- — Documents are blurry or partially cut off
- — GSTIN status is inactive
Fix the issue and resubmit. If you're stuck, message us on WhatsApp and we'll help.
Meta verified? Great! Now connect your WhatsApp to Ant Method.
Continue to Ant Method Setup